Types of Wood for Furniture: Deep Dive Guide
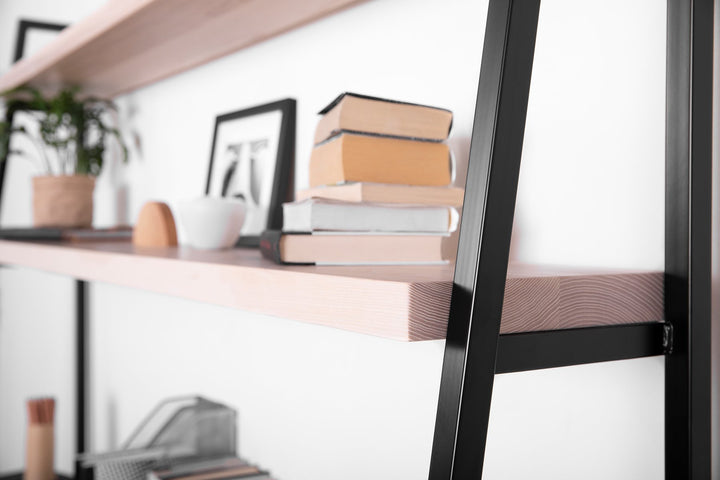
When you shop for wood furniture, how often do you take the type of wood into consideration? Do any other characteristics enter your mind like strength, durability, or sustainability? Dive...
When you shop for wood furniture, how often do you take the type of wood into consideration? Do any other characteristics enter your mind like strength, durability, or sustainability? Dive...
As consumers, every purchase that we make is an opportunity to change the world a little for the better. We hold the power for change. The same applies to producers...
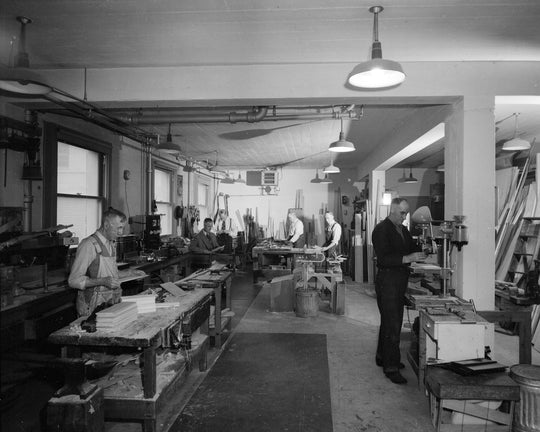
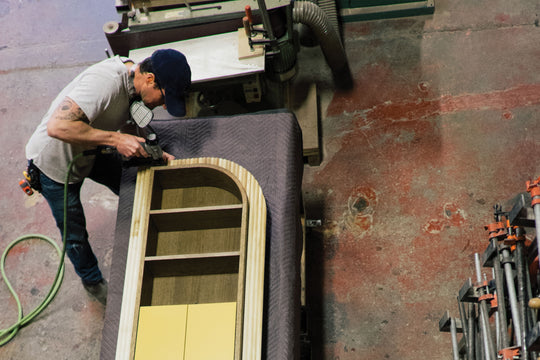
This is the story of how our new logo was inspired by the history of our industrial roots and passion for building solid wood furniture.
We're excited to share with you all our brand refresh! Read this post to find out what inspired our new logo and other historically referenced design details.
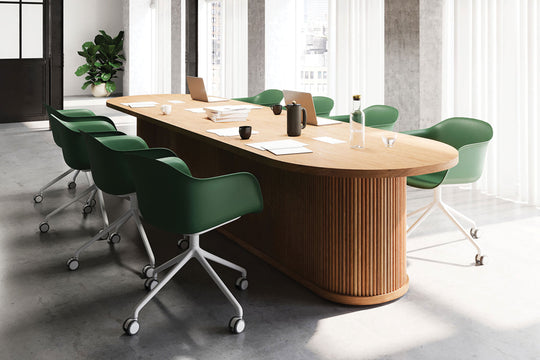
You have come to the right place if you are sourcing high quality ADA furniture for your project or personal life. At Union Wood Co we hand-build and customize all...
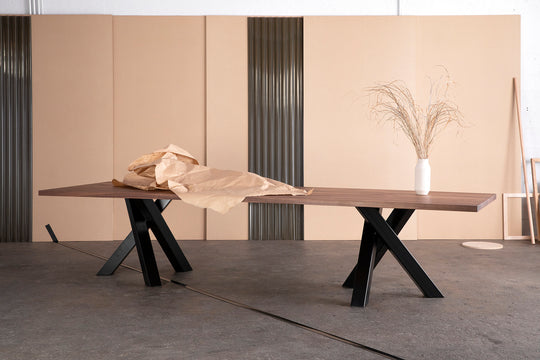
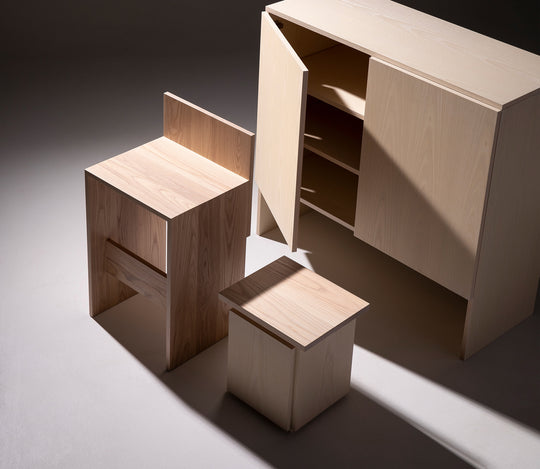
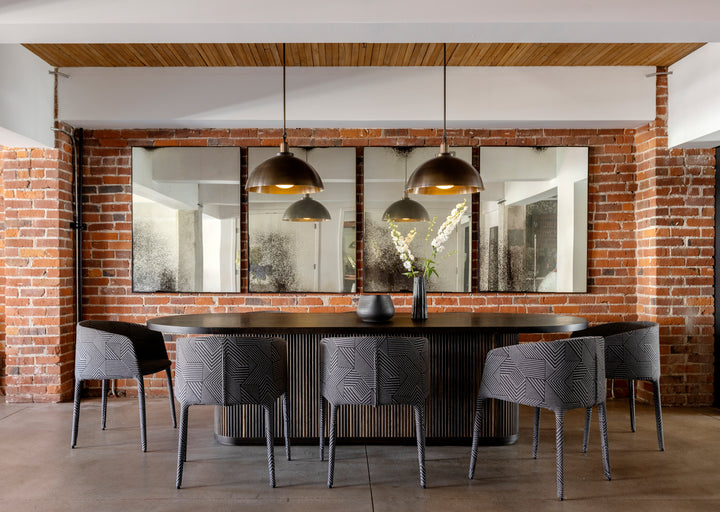
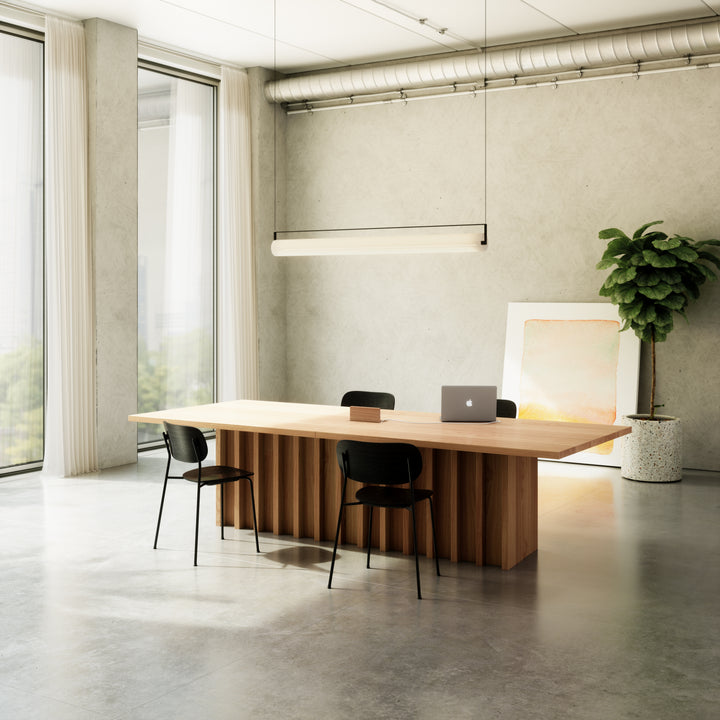
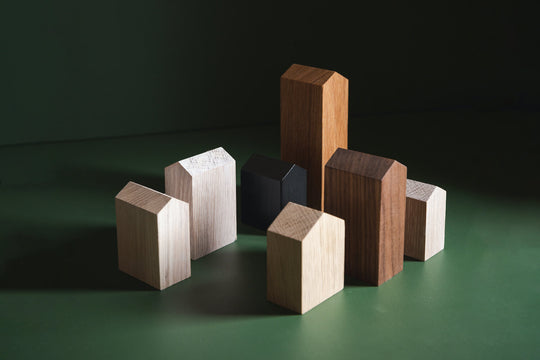
Union Wood Co expands their collaboration with Vancouver-based designer Studio Block, introducing six strikingly simple pieces to the Slab Collection. These complementary tables and storage cabinets build upon the initial...
Think board games with friends and family are fun? Try outdoor games on a sunny day with beverages by your side and get back to us.
Find and download our easy to read seating charts here. We've done all the math for you!
Get all your questions answered about ordering custom-made furniture with us, along with a few important tips!